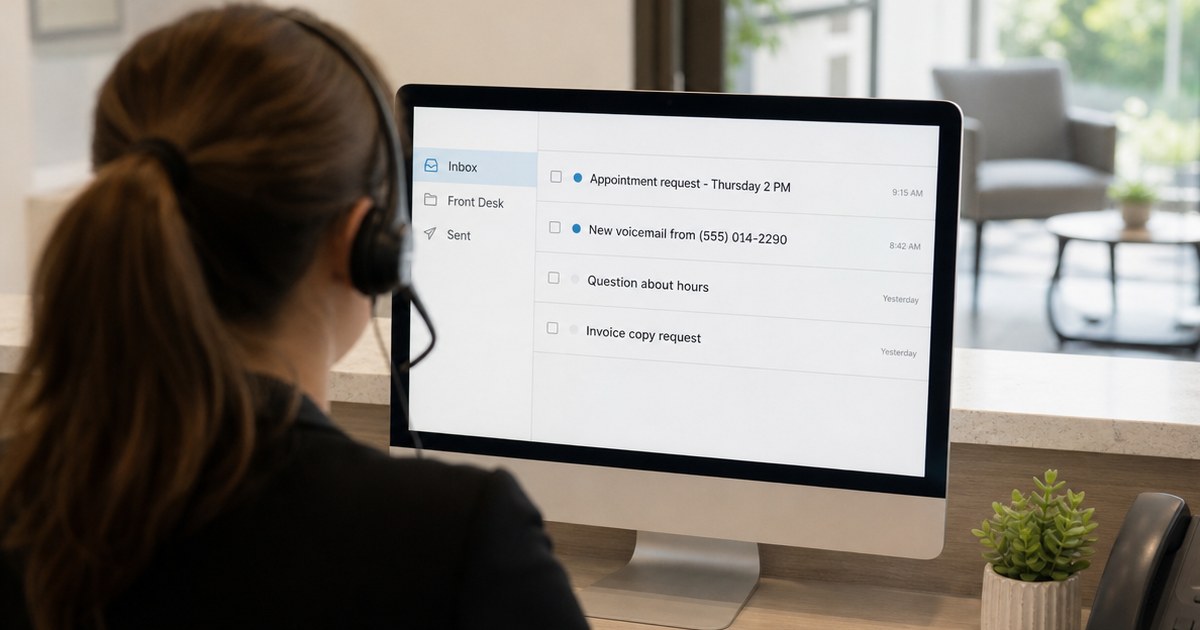
At many small businesses, the front desk email is one address, such as info@ or frontdesk@, with one password on a sticky note. Everyone who covers the desk signs in with it. It works until someone changes the password, someone leaves, or you need to know who sent that reply.
If your business uses Microsoft 365, there’s a better way built in: a shared mailbox. Here’s how Microsoft 365 shared mailbox setup works.
Shared Mailbox vs. Shared Password
A shared password means several people sign in as the same user. That causes real problems:
- No accountability. Every reply looks like it came from the same person, and you can’t tell who did what.
- Security gaps. A password many people know is easy to leak, and multi-factor sign-in gets messy when it’s tied to one person’s phone.
- Painful turnover. When someone leaves, you change the password and tell everyone the new one.
With a shared mailbox, each person signs in with their own Microsoft 365 account, and the shared mailbox shows up next to their own inbox. Replies go out from the front desk address, but access is tied to people you can add or remove at any time.
Sign-in to the shared mailbox itself is blocked by default, so there’s no password to share. Shared mailboxes also usually don’t need their own license, as long as they stay under 50 GB and don’t use features like in-place archiving or litigation hold.
Create the Shared Mailbox in the Admin Center
You’ll need a Microsoft 365 account with admin rights (the Exchange admin role or higher).
- Sign in to the Microsoft 365 admin center.
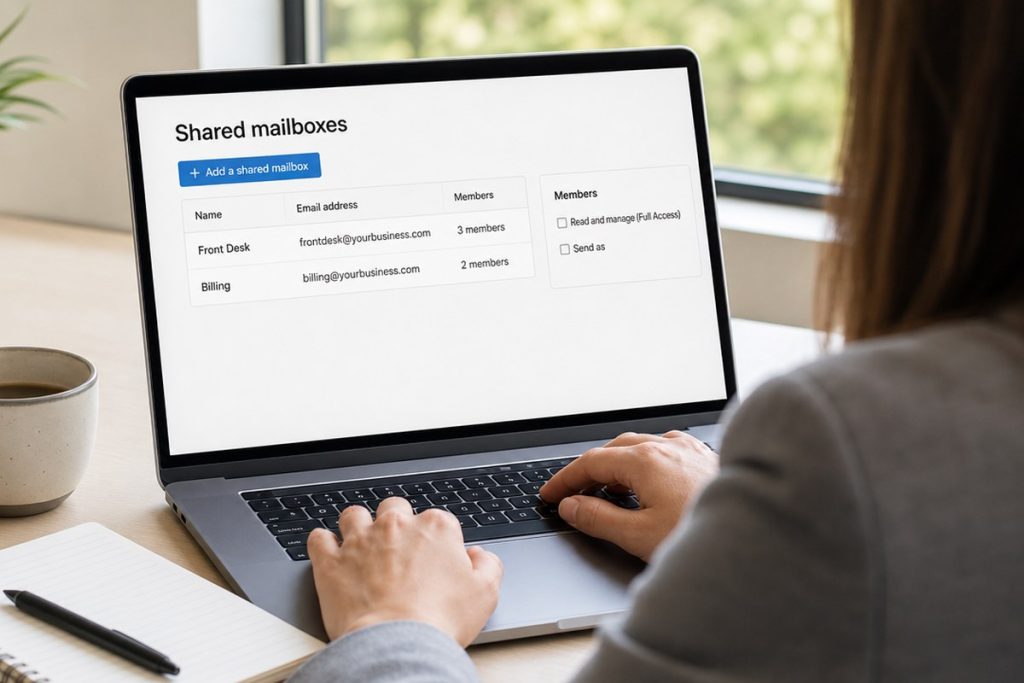
- Go to Teams & groups > Shared mailboxes. If you don’t see Teams & groups, select Show all in the left menu.
- Select + Add a shared mailbox.
- Enter a name, such as Front Desk. Microsoft 365 suggests an email address from the name, which you can edit.
- Select Save changes. It can take a few minutes before the mailbox is ready for members.
Add Members and Send As Permission
Next, decide who should use the mailbox.
Add members
Under Next steps, select Add members to this mailbox, then Add members. Choose the people who cover the front desk and select Add. With automapping (on by default for most businesses), the mailbox appears in each member’s Outlook after they restart it.
Check the sending permissions
Microsoft 365 uses three permissions for shared mailboxes:
- Full Access lets someone open the mailbox and read, organize, and delete messages.
- Send As lets someone send mail that appears to come from the shared mailbox itself, such as “Front Desk.”
- Send on Behalf shows the message as “Jane on behalf of Front Desk.”
For a front desk, Full Access plus Send As is the usual combination, so customers see one consistent name. Full Access alone does not let someone send from the mailbox. If a member can read but can’t send, an admin can check delegation in the Exchange admin center under Recipients > Mailboxes.
Use It for Voicemail Notifications
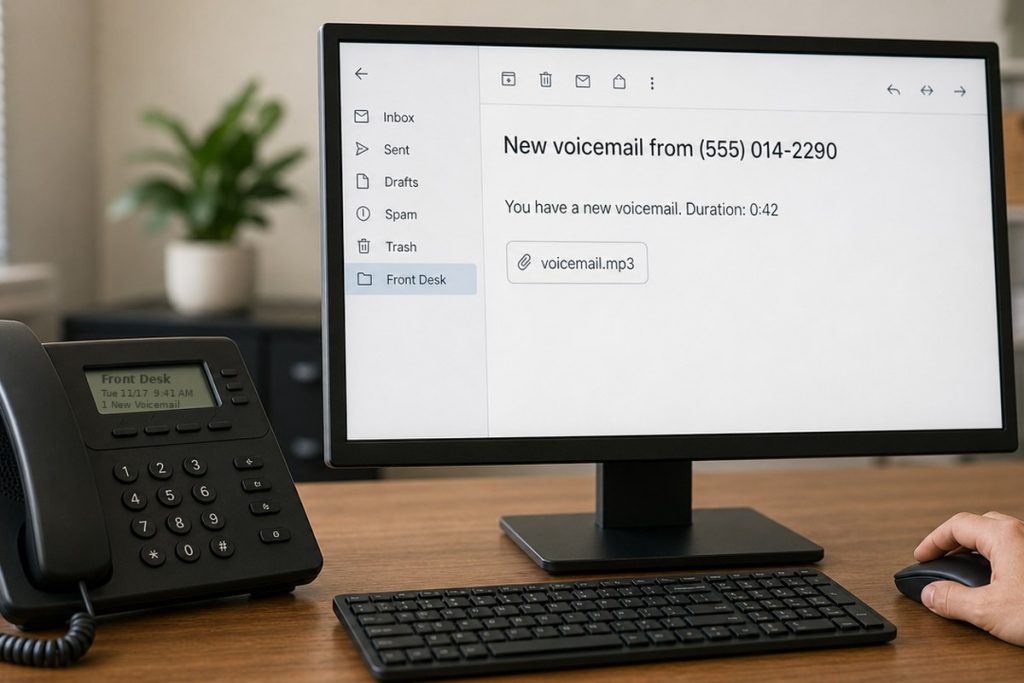
A shared mailbox is a natural home for front desk voicemails. If your business uses RingCentral, you can send voicemail notifications, with the audio attached, to the front desk address instead of one person’s inbox. Whoever is on shift can listen and call back.
We covered that setup in How to Set Up Voicemail to Email in RingCentral. An Outlook flag or category lets the team mark a voicemail as handled, so two people don’t call the same customer back.
Remove Access When Staff Leave
This is where a shared mailbox pays off. When someone leaves or changes roles:
- Go back to Teams & groups > Shared mailboxes in the admin center.
- Select the Front Desk mailbox and edit its members.
- Remove the person. Their access ends, and the rest of the team keeps working without a password change.
Also follow your normal offboarding steps for their own Microsoft 365 account, such as blocking sign-in. There’s no shared password to reset, and the email history stays in the shared mailbox for the next person.
Need Help with Microsoft 365?
Need help with Microsoft 365? 1-800GetConnected is a RingCentral Partner and Managed IT provider. We help businesses set up and manage Microsoft 365, including shared mailboxes and permissions, and connect it with RingCentral voicemail-to-email. Schedule a free 30-minute call to talk through your setup.
1-800getconnected.com is a RingCentral Partner.
Talk to 1-800GetConnected
Book a free 30-minute call or request a free quote for your business.